SQL Installation
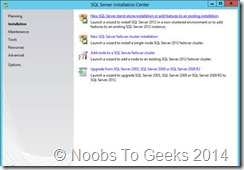
Start by either extracting or mounting the SQL Server ISO, and run the setup.exe. In this example, we are installing SQL Server 2012 SP1.
On the main installation screen, click on the Installation link on the left pane.
From the Installation screen, click the ‘New SQL Server stand-along installation or add features to an existing installation’ link.
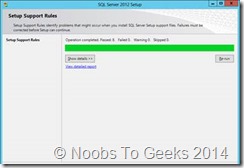
This is initiate the installation. First, the Setup Support Rules will check for any issues. As long as there isn’t any ‘Failed’ issues, click OK to continue with the installation.
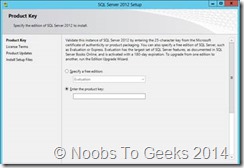
Next, enter your product key or select the evaluation copy to install, and press Next.
Accept the License Terms and choose if you will send usage data to Microsoft, then press Next.
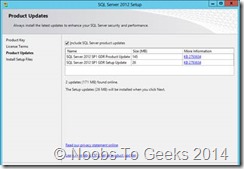
If you have an Internet connection, the installer will check if there are any applicable updates to the installation, and will download the updates to use during the install. Click Next.
The Setup will perform another Setup Support Rules check. As long as there are no Failures, you can click Next.
Next is the Setup Role. For our needs, we will choose ‘SQL Server Feature Installation’, then press Next.
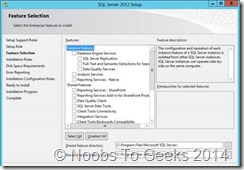
For the Feature Selection, select the following, and then press Next.
Database Engine Services
Management Tools – Basic and Complete (for running queries and configuring SQL services)
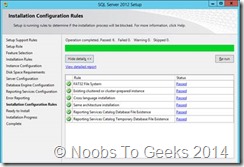
The Installation Rules will run to determine if anything will block the SQL installation. If there are no Failures, click Next.
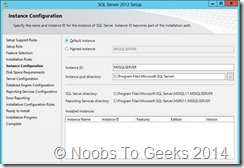
Next we will configure the instance. You can choose either to use a Default instance, or a Named instance. In this example, I will use a named instance, so as to not get this installation of SQL mixed up with any other I will have in my lab. Make your applicable choice, and click Next.
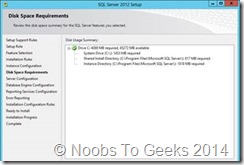
The setup will check and confirm there is enough space on the drive for the installation. If everything is reported as OK, click Next.
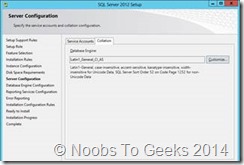
You next have to configure the server, which includes the Service Accounts and Collation.
In Production, it is best practice to have a separate account for each of the services. We will leave everything at defaults, with the exception of changing the ‘SQL Server Agent’ startup type from ‘Manual’ to ‘Automatic’. After you have completed this, don’t click Next, but rather click on the Collation tab.
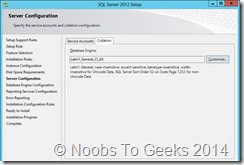
On the Collation tab, you will need to click the Customize button to be able to change it appropriately.
On the Customize dialog, select ‘SQL collation, used for backwards compatibility’.
Within the list, find ‘SQL_Latin1_General_CP1_CI_AS’ and select it, then click OK.
You will be back on the Server Configuration dialog, click Next.
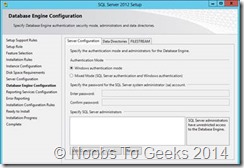
On the Database Engine Configuration screen, leave the Authentication Mode at ‘Windows authentication mode’. What do have to change is to add SQL Server Administrators. Click the Add button.
On the next dialog, you will need to add either the user(s) or security group(s) you want to have administrator access to SQL. At a bare minimum, add the current user account, so that you can log into SQL Server. Add the user(s)/security group(s), and click OK.
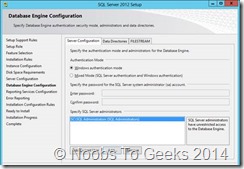
You will be back on the Database Engine Configuration screen, and your accounts will now be present. In my example, I have an Active Directory Security Group I specifically created for SQL Administrators. Then click Next.
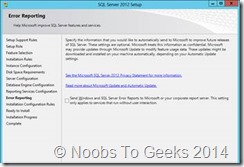
You can choose to send Error Reporting information to Microsoft. Make your choice, and click Next.
The setup will now re-check the configuration rules, based on the selections and information that has been supplied. If it passes, click Next.
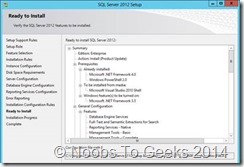
Review the information on the Ready To Install screen, and then click Install.
Note: during the installation, you may encounter the following error message. This is due to not having the .NET Framework 3.5 installed prior to attempting to install SQL Server. If you encounter this, cancel the SQL server installation, and install the .NET Framework 3.5 (which is an available feature within Roles and Features).
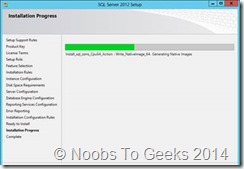
You may have to wait a while for the Installation Progress to complete.
On the Complete screen, click Close.
Congratulations, you now have SQL Server installed and are finally ready to install System Center Virtual Manager (SCVMM).
SCVMM Installation of Deployment Kit
Install Prerequisites
To start, before we will actually be able to install SCVMM, we have to install a few prerequisites.
Windows Assessment and Deployment Kit for Windows 8
Deployment Tools
Windows Pre-installation Environment (Windows PE)
WADK Install
SCVMM requires the Windows Assessment and Deployment Kit to be installed prior to installing SCVMM itself.
Start by downloading the WADK from Microsoft: http://www.microsoft…s.aspx?id=30652
Once you have downloaded the WADK, copy it to your SCVMM system.
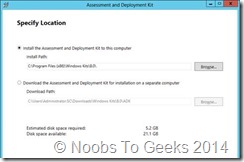
Now run the ADKSetup.exe. You will first be presented with a dialog to specify the location for the install.
You will also notice that there is an option to install the ADK or to download the files to install on a different system. If you system does not have an Internet connection then you are going to have to run the ADK installing on a system that does, and choose the ‘Download the Assessment and Deployment Kit for installation on a separate computer’. This will download all of the files required, and you will have a different ADKSetup.exe to run for “offline” installation.
Make your appropriate selection and click Next.
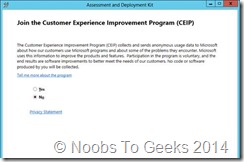
You can then choose to join the CEIP program or not. Make your selection and click Next.
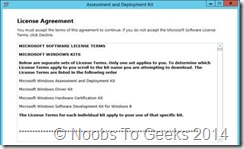
Read the License Agreement, and click Accept to proceed with the installation.
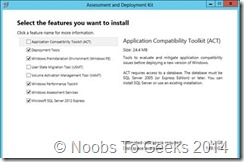
On the Features screen, the only features you need to install is the ‘Deployment Tools’ and ‘Windows Preinstallation Environment (Windows PE)’. You can de-select all other options, and then click Install.
If you are installing this on a system that has Internet connectivity, and you chose the first option on the initial screen, then the tool will go online and download all the files required. Note that this may take a little time for it to complete, depending on your Internet connectivity.
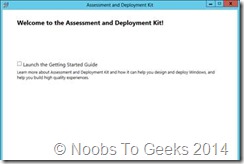
Once the WADK finishes downloading the files required, it will automatically initiate the installation. When the installation is complete, click Close.
Now we have everything that we need installed, and are ready to install SCVMM.
Install SCVMM
Start by either extracting the DVD contents, or mounting the ISO (the TechNet ISO is currently labelled as mu_system_center_2012_virtual_machine_manager_with_sp1_x64_dvd_1348927). Start by running the setup.exe.
On the splash screen click the Install link.
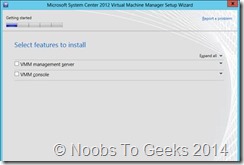
On the Select Features screen, select the feature you want to install. In our example, we are installing all features on the same server, so we will select all of them and click Next.
You may notice that there is no Reporting option in comparison to other System Center product installations. This is because the reporting for SCVMM is actually integrated into the reporting feature of System Center Operations Manager (SCOM). We will go through various configuration steps after the installation is complete.
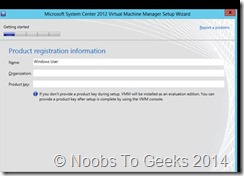
Provide Registration information for your organization along with a valid Product Key. Make applicable entries, and then click Next.
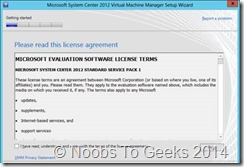
Next read the License Agreement, check the applicable checkbox, and then click Next.
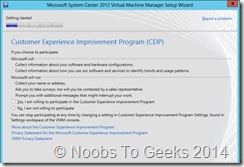
Now you can choose if you want to be a part of the CEIP program. Make an applicable choice and then click Next.
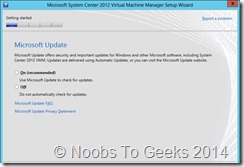
You can choose if you want to find updates for the product by using Microsoft Updates. Depending on your patching/upgrading policies/procedures, make an appropriate choice and then click Next.
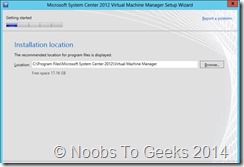
Next you need to provide an Installation Location. Ensure there is sufficient space and then click Next.
You will now be asked to supply the Database Connection information. Enter the applicable information for your environment and then click Next.
On this next screen you can specify the Service Account to use, and if you want to use Active Directory for your encryption keys. If you want to walk through the process/uses of this, then choose to enable the option and then click Next.
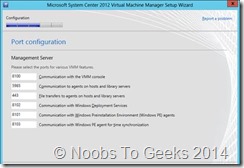
On the Port Configuration screen, you can change the ports that SCVMM uses. Depending on your environment, you may have to make some modifications, we will use the defaults.
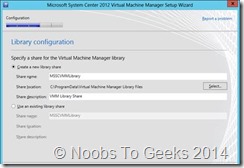
Next you need to specify the location for the SCVMM Library. This is the location that will contain all of your ISO’s, VHDs, etc. Be sure to provide sufficient space. Microsoft recommends 150 GB if you’re running a local version of SQL.
Setup your environment accordingly, and click Next.
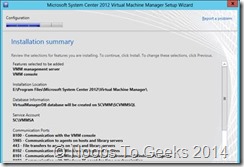
Review the information presented on the Summary screen, and click Install.
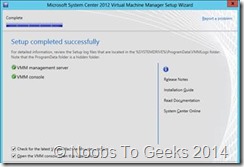
The installation may take some time, so be patient. Once it is complete, you can choose to check for the latest updates and open the console if you wish. Click Close.
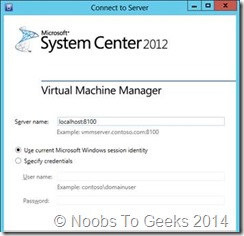
When SCVMM launches for the first time, you will have to provide a server name to connect to. You can choose to check off the ‘Automatically connect with these settings’ checkbox so that you don’t have to continue to enter the server name. Enter your server information and click Connect.
The SCVMM console will launch. Navigate around the various areas.
Congratulations, you have now successfully installed SCVMM
Physical to Virtual (P2V) Using System Center Virtual Machine Manager 2012 SP1
It requires a VMM server managing at least one Hyper-V host available for placement. The physical machine must be connected to the same network as the Hyper-V host and the VMM server for successful conversion. Additionally, local or domain administrative credentials are required. The process is initiated from the VMM console and is completed using the wizard.
Select Convert Physical Machine from the Create Virtual Machine dropdown menu in VMM.
Specify the computer you wish to virtualize, providing valid credentials with appropriate privilege.
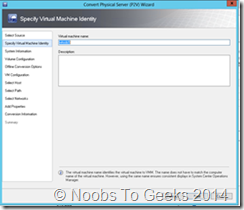
Name the virtual machine that will be created as the container of the virtualized physical machine. This does not have to match the hostname of the computer. Provide a description if desired.
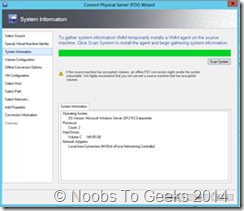
Scan the system (by clicking Scan System).
Review the scan results and proceed if details appear as expected. Take note of network adapters for setting up VM networks later in the wizard.
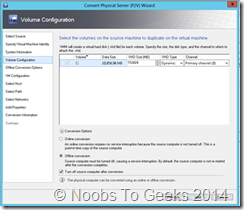
Configure the volumes to be converted to VHDs. Note that system volumes are mandatory.
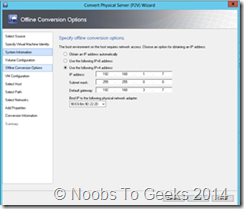
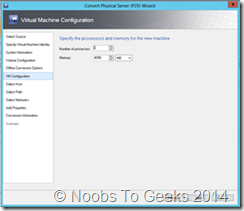
Verify the VM Configuration – Number of processors and Memory. These default values will reflect the physical system’s configuration and may be changed based on current needs. For example, if a system is under P2V as a cheaper alternative to a memory upgrade, you may increase the memory here if it is available. It would not be advised to choose a lower value here to ensure functionality of the virtualized system as close to the original physical machine as possible. Make sure to choose Offline conversion as its most important part.
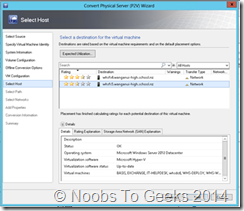
Choose a server for placement with at least a 1-star rating. A zero-star rating indicates an incompatible system configuration such as invalid network configuration, insufficient memory, host not responding, or other similar problems.
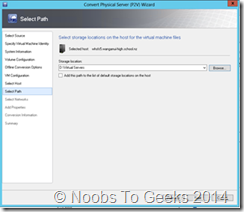
Choose the placement location. This is the path on the target server, where the VM will reside.
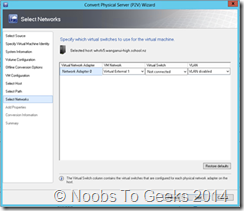
Configure the network configuration to match the existing machine.
Choose the Automatic actions for this VM. Generally, “Automatically turn on the virtual machine if it was running when the physical server stopped” should be chosen here. It is not the default option.
Correct any issues detected by the wizard, if any, and click Check Again until “No issues detected.” Information is shown in the window.
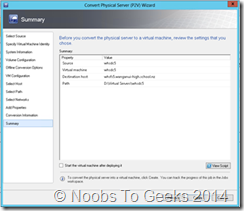
Review the summary and click Create to start the conversion process. It may not be wise to start the virtual machine after deploying it since your physical machine will continue to run.
Check the Jobs section of VMM for detailed progress information
Convert to VHD or VHDX
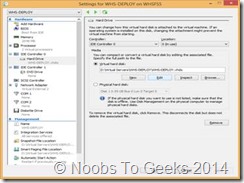
Choose the Virtual machine and click on settings and choose Edit.
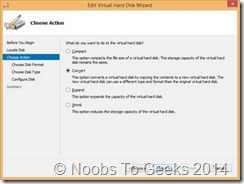
From the choose action option, click on Convert and follow the steps.
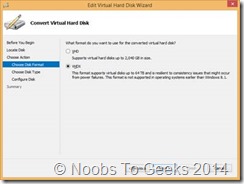
Choose VHDX as the disk format
Choose dynamically expanding option.
Select the location of the disk and click next.
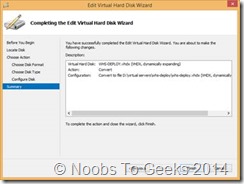
View the summary and check all the settings are correct.
Click finish to complete the conversion. Takes around 40 minutes to complete the conversion

